I know that there are several tutorials out there for T-shirt Yarn, but I am writting this one up for my wicked Step-Mother as she is being super awesome and making me some with her used T-shirts! Also I wanted to have this tutorial up for some future patterns/ projects that I will be working on and posting so I wanted to have a quick reference for you guys to have... Plus I didn't want you guys to have to leave my page to find instruction muaahahaha (supposed to be that scary laugh! lol)
Materials:
Used t-shirts
Scissors
List of Materials that make life MUCH easier:
Used t-shirts that
do not have side seams
rotary cutter
self healing rotary mat the bigger the better
omnigrid ruler 6"x 24" works great
yarn ball winder
If you don't have the extra materials no biggy you can still make t-shirt yarn. The extra materials just make it faster and more accurate. As the self healing mat hat a measurement grid on it and so does the ruler so you can make all of your strips the exact same size. And it saves your hands I had so much to make that I would have gotten blisters using scissors for all of it. Ok so on to the instructions.
Lay your t-shirt out in front of you. Try to get all the wrinkles out and make it as straight as you can.
And now cut straight across the top from right under the sleeves so that you are left with a tube (the torso of the t-shirt)
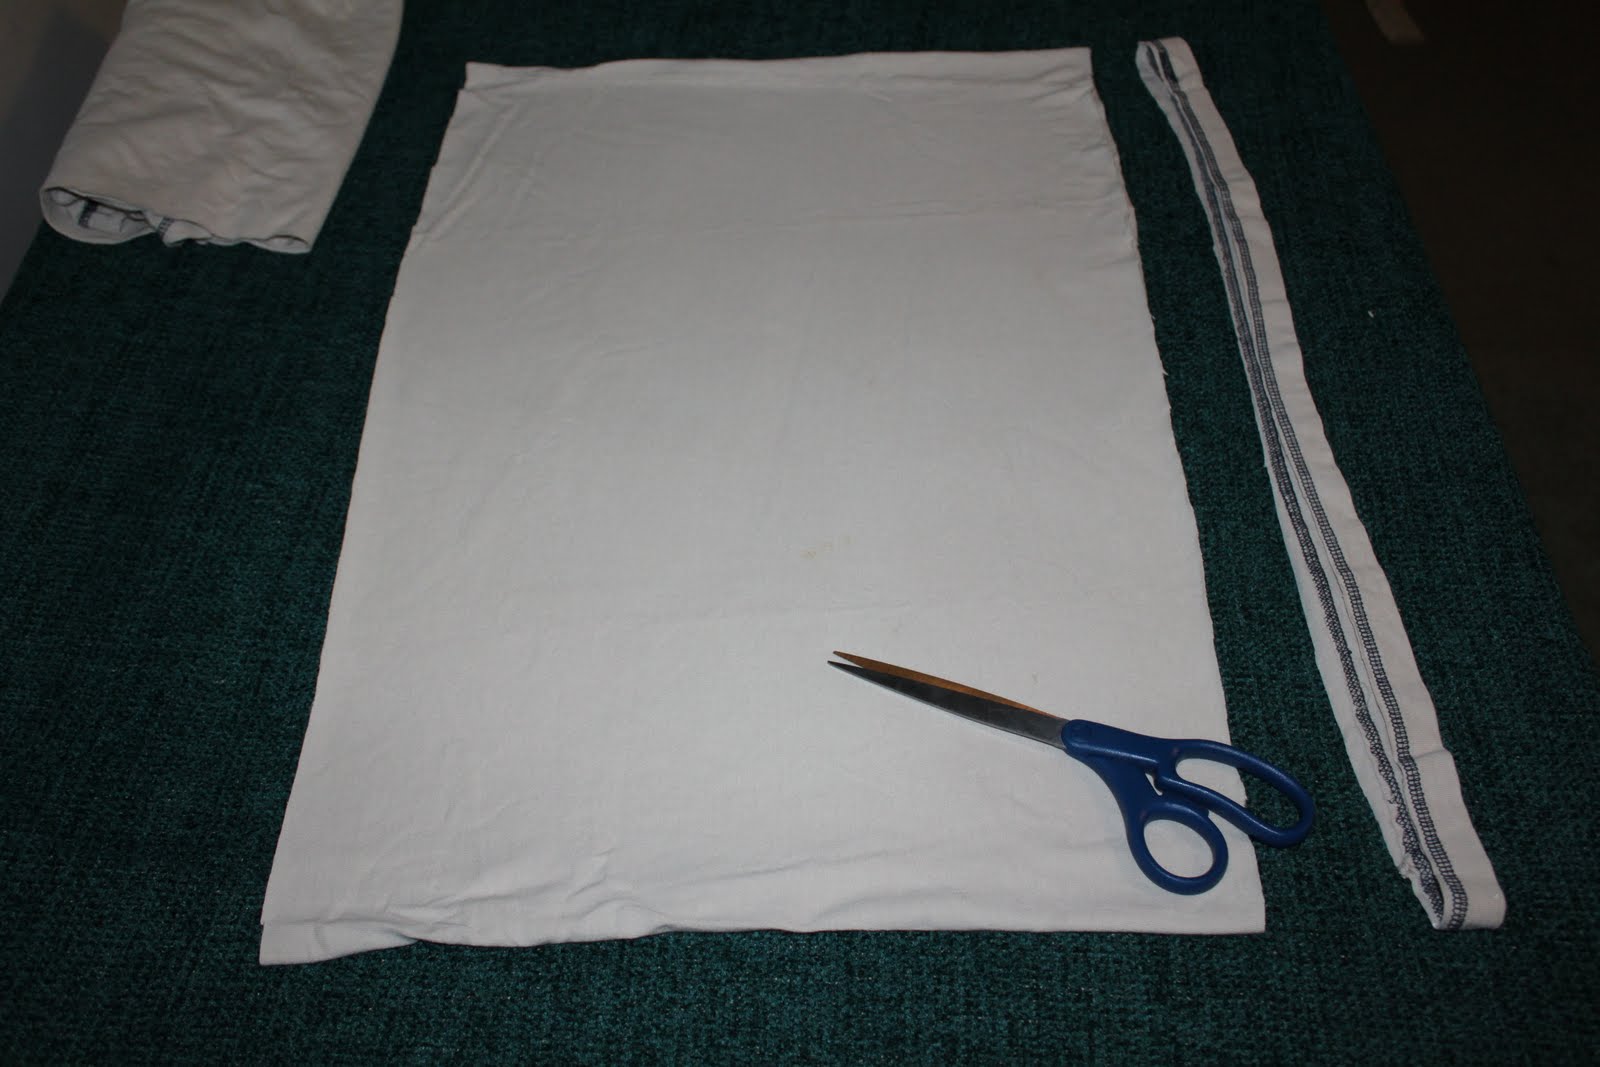
Now Cut the bottom seam off
With the tube you have left cut strips of about 1" but DO NOT cut all the way up leave about 1 " uncut so you end up with something that resemble a hula skirt :) (depending on how thick or thin you want your yarn to be) This is also where a self healing mat, ruler and rotary cutter come in handy.
Continue cutting in one inch strips all the way across. When you are done it should look like this
Here is a close up of the top of the shirt (where you should have left 1" uncut)
Now "open" up the top where it was left uncut so that it looks like this
Now here is another important part with a pair of scissors cut diagonally from the 1st strip on the right to the 2nd strip on the left. Then the 2nd strip on the right to the 3rd strip on the left. And continue in this manner to the end. Leave the 1st strip on the left uncut for now do that at the end to avoid confusion.What this will do is give you a long strip of continuous "yarn".
This photo is the 1st cut
This photo is the second cut
Now when you are done you will have a LONG strip of 1"inch fabric
Now the fun part. Grab your fabric and tug on it. Continue tugging to the end of your strip. What this does is curl your strip. To make it look like a long tube or "yarn". This also makes your already long strip into a LONGER strip of yarn.
Then all you have to to is ball it up! If you have a yarn ball winder it comes in handy here especially if you have a lot of t-shirts to do. (BTW I sell yarn ball winders manual and electronic just visit my website and I'll be happy to send one your way!)
And that's it. I hope you guys enjoyed and understood this tutorial. I'd love to hear your comments. Stay tuned for patterns using t-shirt yarn.


